Summarization and Classification
Let’s Get Started! #
GenAI Studio aims to simplify how you use language models. It is a practical, user-friendly platform that makes it easy for you to test and fine-tune large language models to meet various business needs.
By following these step-by-step instructions, you’ll see how easy it is to create a new project, load a base model, and begin prompting in the playground. With this basic knowledge of the tool, you’ll be able to move on to more advanced topics like creating and fine-tuning a model.
Objectives #
When you have completed this tutorial, you will have created your first project and generated a response from a base model. We’ll cover all of the following topics:
- First-time sign in
- Basic prompt design
- Summarization and classification
- Choosing a foundation model
- Generating output
GenAI Studio guides you through going from basic prompt design to pretty good model performance. Its built-in guardrails help prevent memory issues and help prevent you from choosing the wrong parameters.
Before You Start #
- Sign In.
- Ensure you have properly set your Hugging Face access token.
1. Create a New Project #
- From the GenAI Studio home page, select Create a new project.
- Name the project
practice project.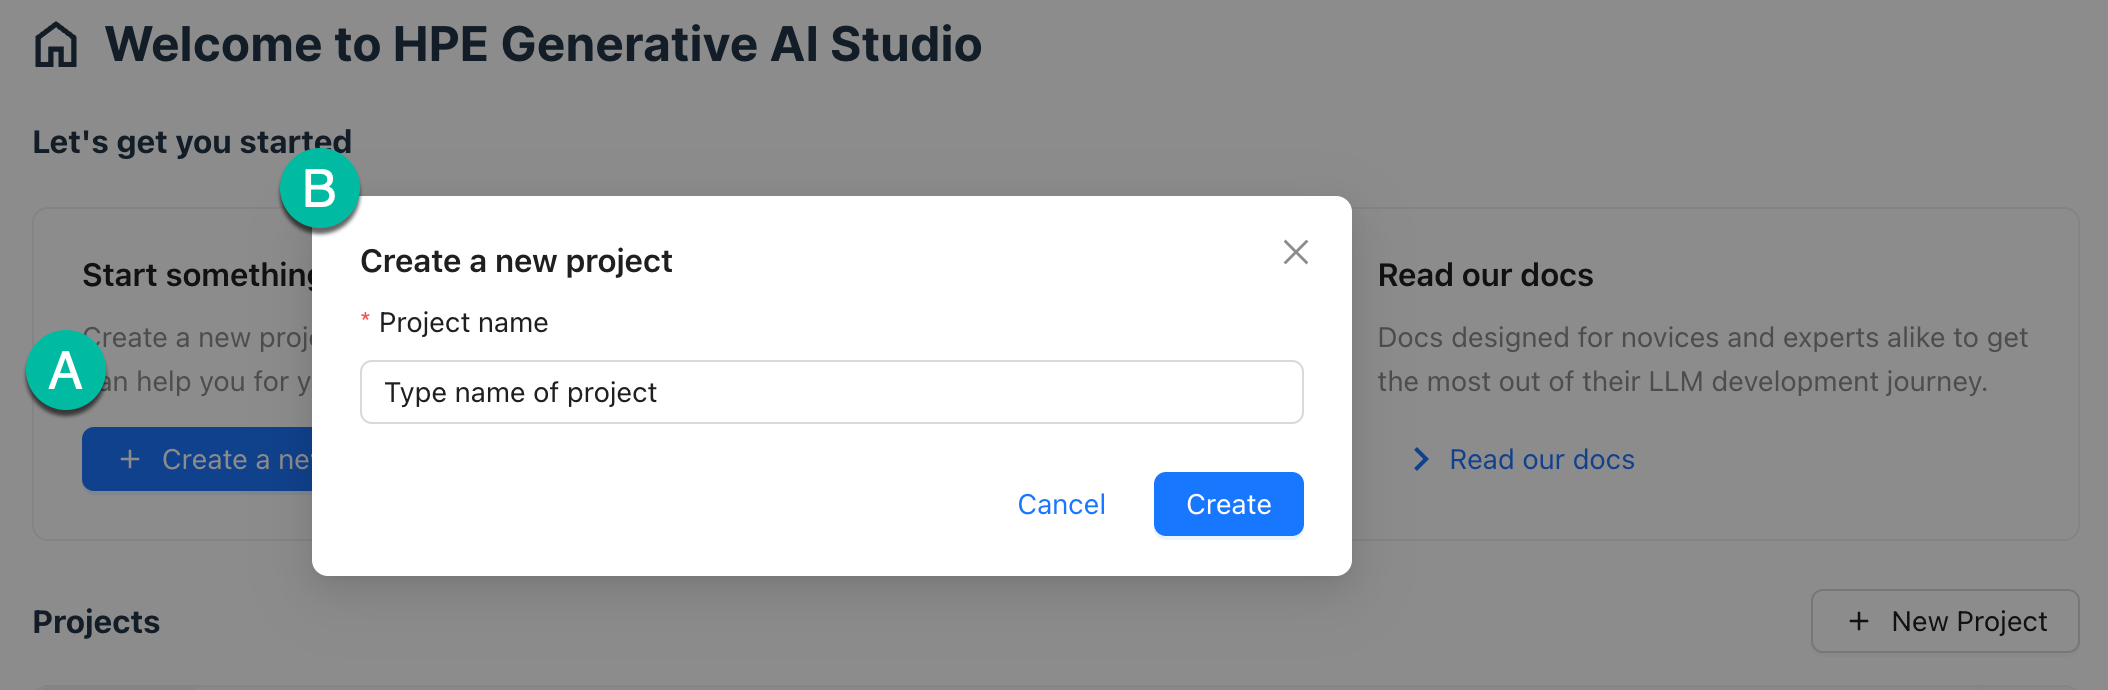
- Select Create Project.
- Select your new project to open it.
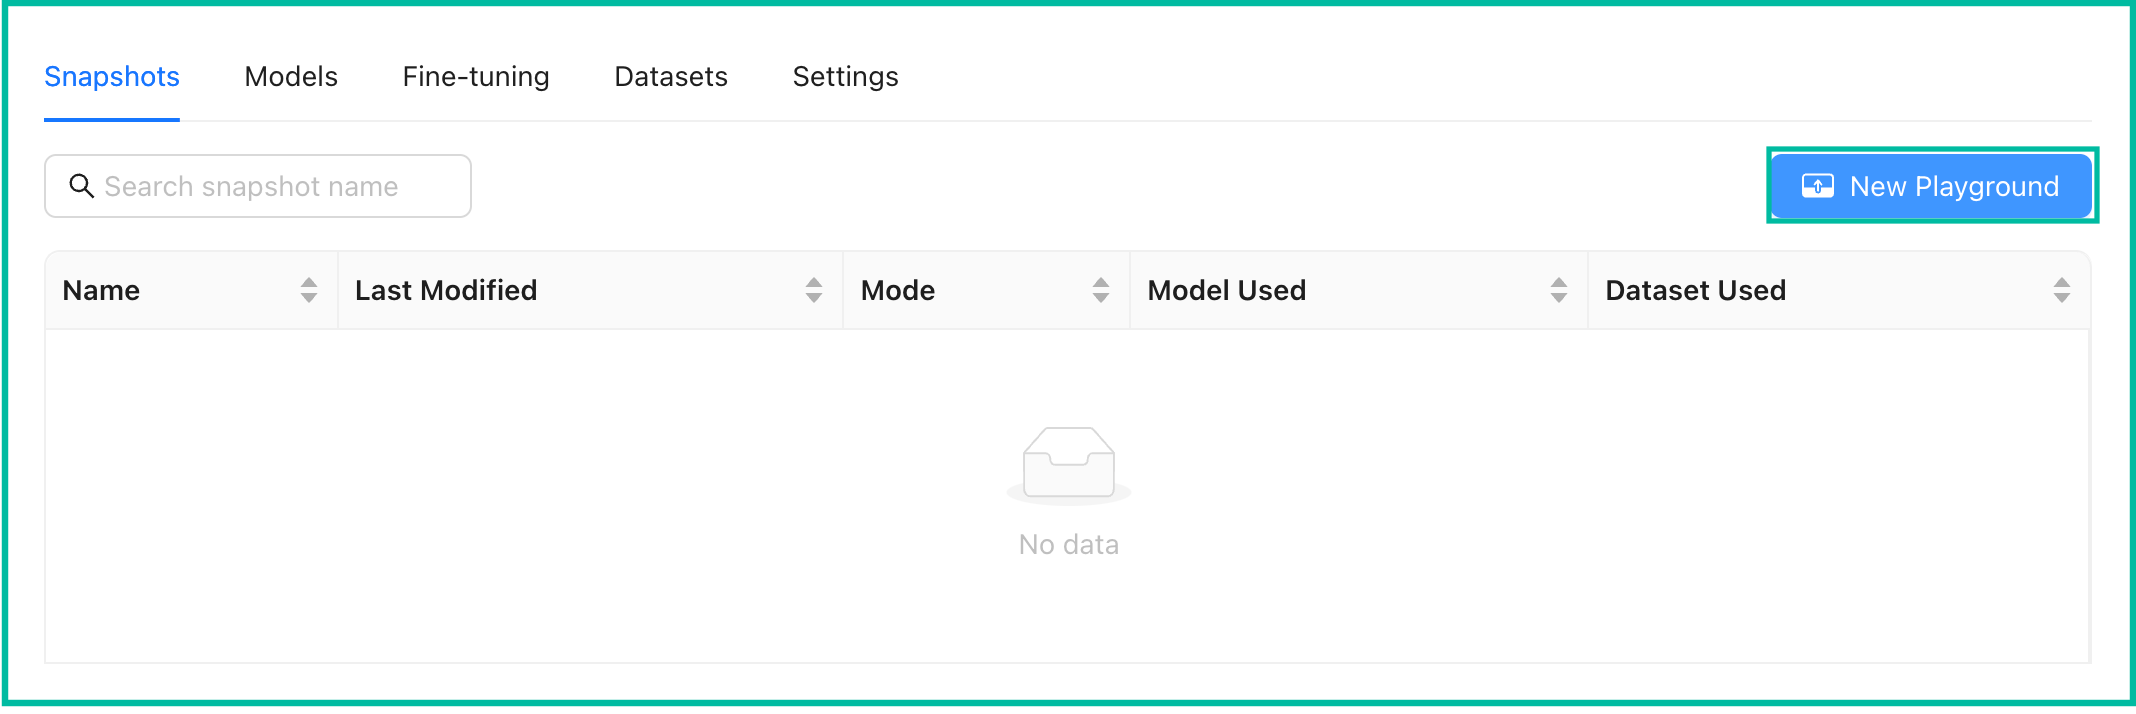
Opening a project lands you in the snapshots tab.
2. Create a Summarization Snapshot #
Creating a snapshot is the first step in interacting with GenAI Studio. A snapshot is a saved state of a model that you can interact with in the snapshot playground. This includes at minimum, loading a base model, writing prompts, and generating responses. For your first snapshot, we’ll create a summarization snapshot that will help us summarize a news article.
Create a Snapshot Playground #
The snapshot playground is where you’ll interact with GenAI Studio’s base models to get an idea of how they perform with certain settings and prompts. Once you find a combination that works well, you can save the snapshot and use it to create a new model.
- From the Snapshots tab, select New Playground to open a new snapshot Playground.
Select a Foundation (Base) Model and Resource Pool #
First, you’ll need to select a foundation (base) model. You’ll find a curated list of foundation models to choose from. Selecting a foundation model is required because it serves as the underlying engine that drives the generative model’s performance.
- In Select model, select meta-llama/Llama-2-7b-chat-hf main.
- Select the Resource Pool dropdown and choose your resource pool, e.g.,
a100.
When selecting a base model, you generally want to select the most appropriate model based on what you need the model to do in your specific project or task.
Set Model Generation Properties (Model Parameters) #
- Set the model generation properties as follows:
- Temperature:
1 - Max Tokens:
2000 - Top K:
50 - Top P:
1
- Temperature:
- Select Load.
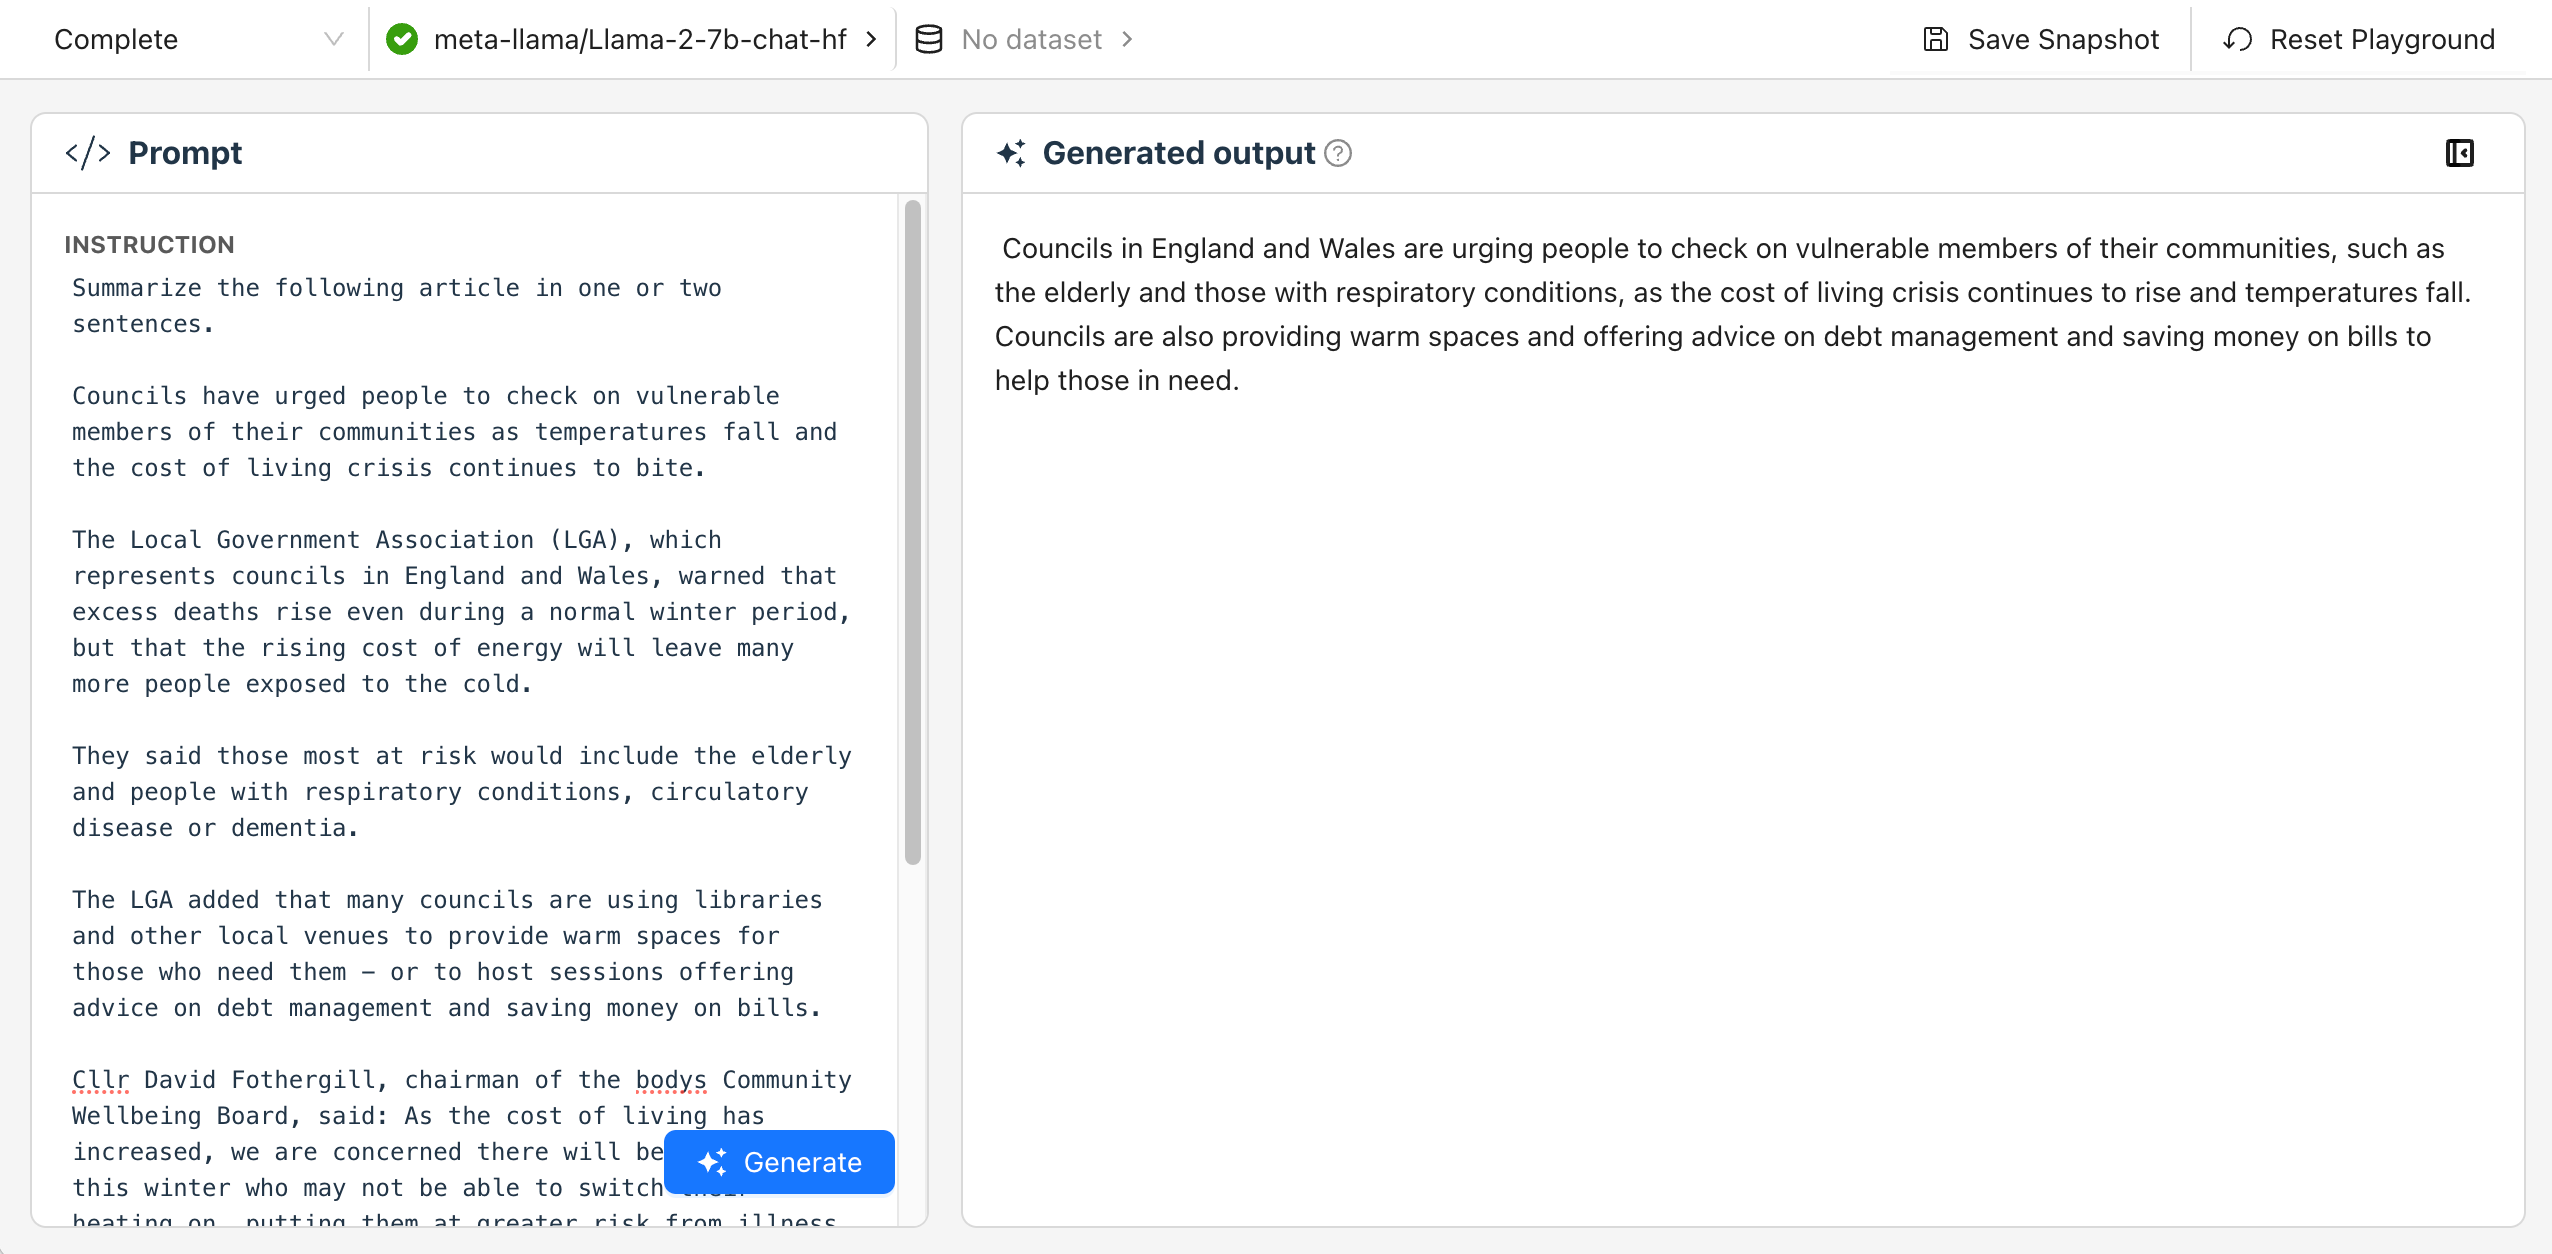
Write Your First Prompt Input #
Just like giving someone directions, we’ll tell the model exactly what we want it to do. It’s like asking a friend who’s good at something (like being a financial guru) for help. This will make the model’s answers better!
- Copy and paste the following into the Instruction section:
Summarize the following article in one or two sentences.

Councils have urged people to check on vulnerable members of their communities as temperatures fall and the cost of living crisis continues to bite.

The Local Government Association (LGA), which represents councils in England and Wales, warned that excess deaths rise even during a normal winter period, but that the rising cost of energy will leave many more people exposed to the cold.

They said those most at risk would include the elderly and people with respiratory conditions, circulatory disease or dementia.

The LGA added that many councils are using libraries and other local venues to provide warm spaces for those who need them - or to host sessions offering advice on debt management and saving money on bills.

Cllr David Fothergill, chairman of the bodys Community Wellbeing Board, said: As the cost of living has increased, we are concerned there will be more people this winter who may not be able to switch their heating on, putting them at greater risk from illness relating to the cold.

He added: “Although council teams will be stepping up their efforts to support people who are more isolated over the coming days, everyone should check up on their neighbours and anyone they know who may be more vulnerable to the cold. It could help save lives.”
Generate an Output #
After you’ve put everything in, the model will give its response. This is where you see how well it understood your request.
- Select Generate.
- Review the model’s response in the output.
- Select Save Snapshot and provide a name for your snapshot, such as
snapshot1.
We’ll use this saved snapshot in the next section, saving time.
We can see the model understood our request pretty well! We’ll return to the playground in the next section.
3. Create a Classification Snapshot #
This time, we’ll try a simple classification example. To improve our model’s output, we’ll go a bit further by giving the model a few examples of what we’re looking for. This is known as few-shot prompting.
Craft Your Instructions #
We’ll keep the base model and parameters we’ve already loaded into our playground and we’ll craft new instructions.
- Select Reset Playground.
- In Select model, select meta-llama/Llama-2-7b-chat-hf main.
- Select the Resource Pool dropdown and choose your resource pool, e.g.,
a100. - Select Load.
- Copy and paste the following into the Instruction section:
Classify each review below.
Provide Examples, Input Data, and Expected Output #
Examples are like showing a picture of what you want. When you provide samples of the kind of answers you’re looking for, the model can give you better results. If you have extra info (like from a dataset), you could use it here to make your examples really clear. Don’t forget to peek at your data with the ‘Preview’ option.
-
Copy and paste the following examples:
Review: The food was so delightful. Sentiment: Happy. Review: The food was great, however, the service was quite mediocre. Sentiment: Disappointed. Review: This was the worst service I have ever experienced! Sentiment: Angry. -
Copy and paste the following input:
Review: Wow, the wait! The food was okay, but the wait was far too long! Review: We will be back! Review: Not great. Review: Great service, food was cold.Input is where you put in the info you want the model to think about. If you’ve got a dataset, you can point to specific parts of it here.
Generate an Output #
After you’ve put everything in, the model will give its response. This is where you see how well it understood your request.
- Select Generate.
- Select Save Snapshot to update the saved snapshot.
What’s Next? #
Getting to the desired response is part science and part art. Trial and error. In the examples section, you’ll find tutorials for learning about ways for improving the model’s response.
- Visit the Tutorials section to continue your learning journey.